
Installation Instructions.


Staging Mayim Barriers.
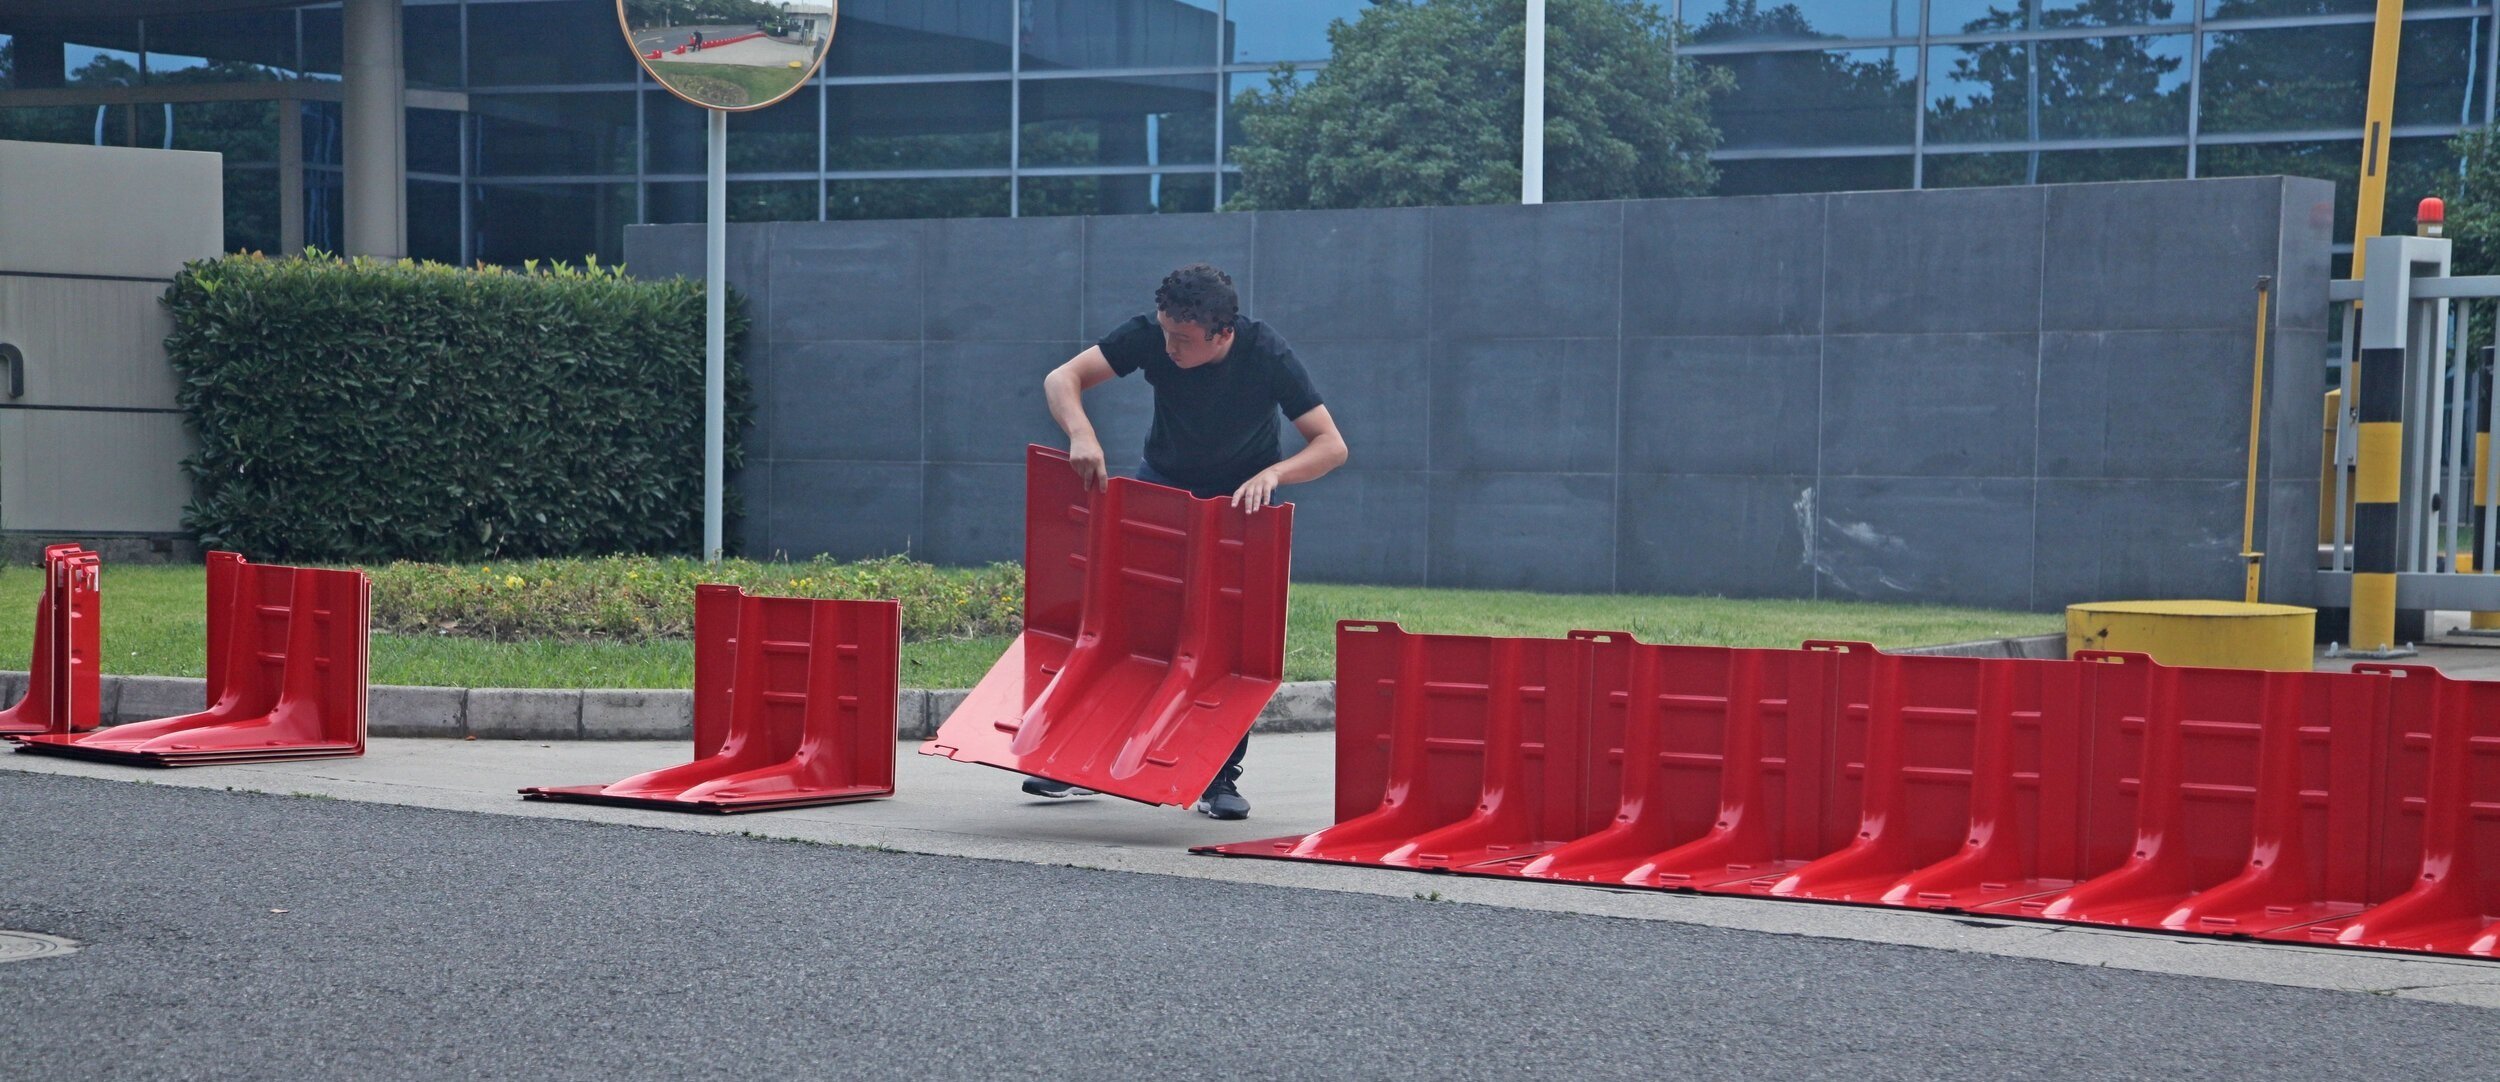
We recommend transporting Mayim flood barriers from storage stacked on a dolly. This allows for quick staging of material on site, with placement and connection later. Each barrier is lightweight, meaning a single person can transport several barriers in a stack if no dolly is available.

Positioning Barriers.
Remove individual Mayim flood barriers from the staging stack and position adjacent to the run of already installed barriers. Be sure that you are always connecting left to right, when standing behind the barriers and with the “L” shape of the barrier facing outwards. This allows barriers to overlap the prior barrier, to notch into the connection hole, and to create a seal.

Connecting Sections.
When standing behind Mayim barriers, each barrier has a female receiver at the bottom right of the barrier and a male connecting tab on the bottom left. Each barrier also has a female receiver at the top right and a male connecting tab on the top left
To connect panels, simply tip the newest barrier at an angle and insert the bottom male connecting tab into the female receiver. Set the panel down and press the male connecting tab into the female receiver (see below image of connected sections).
The Mayim Connection System Components.
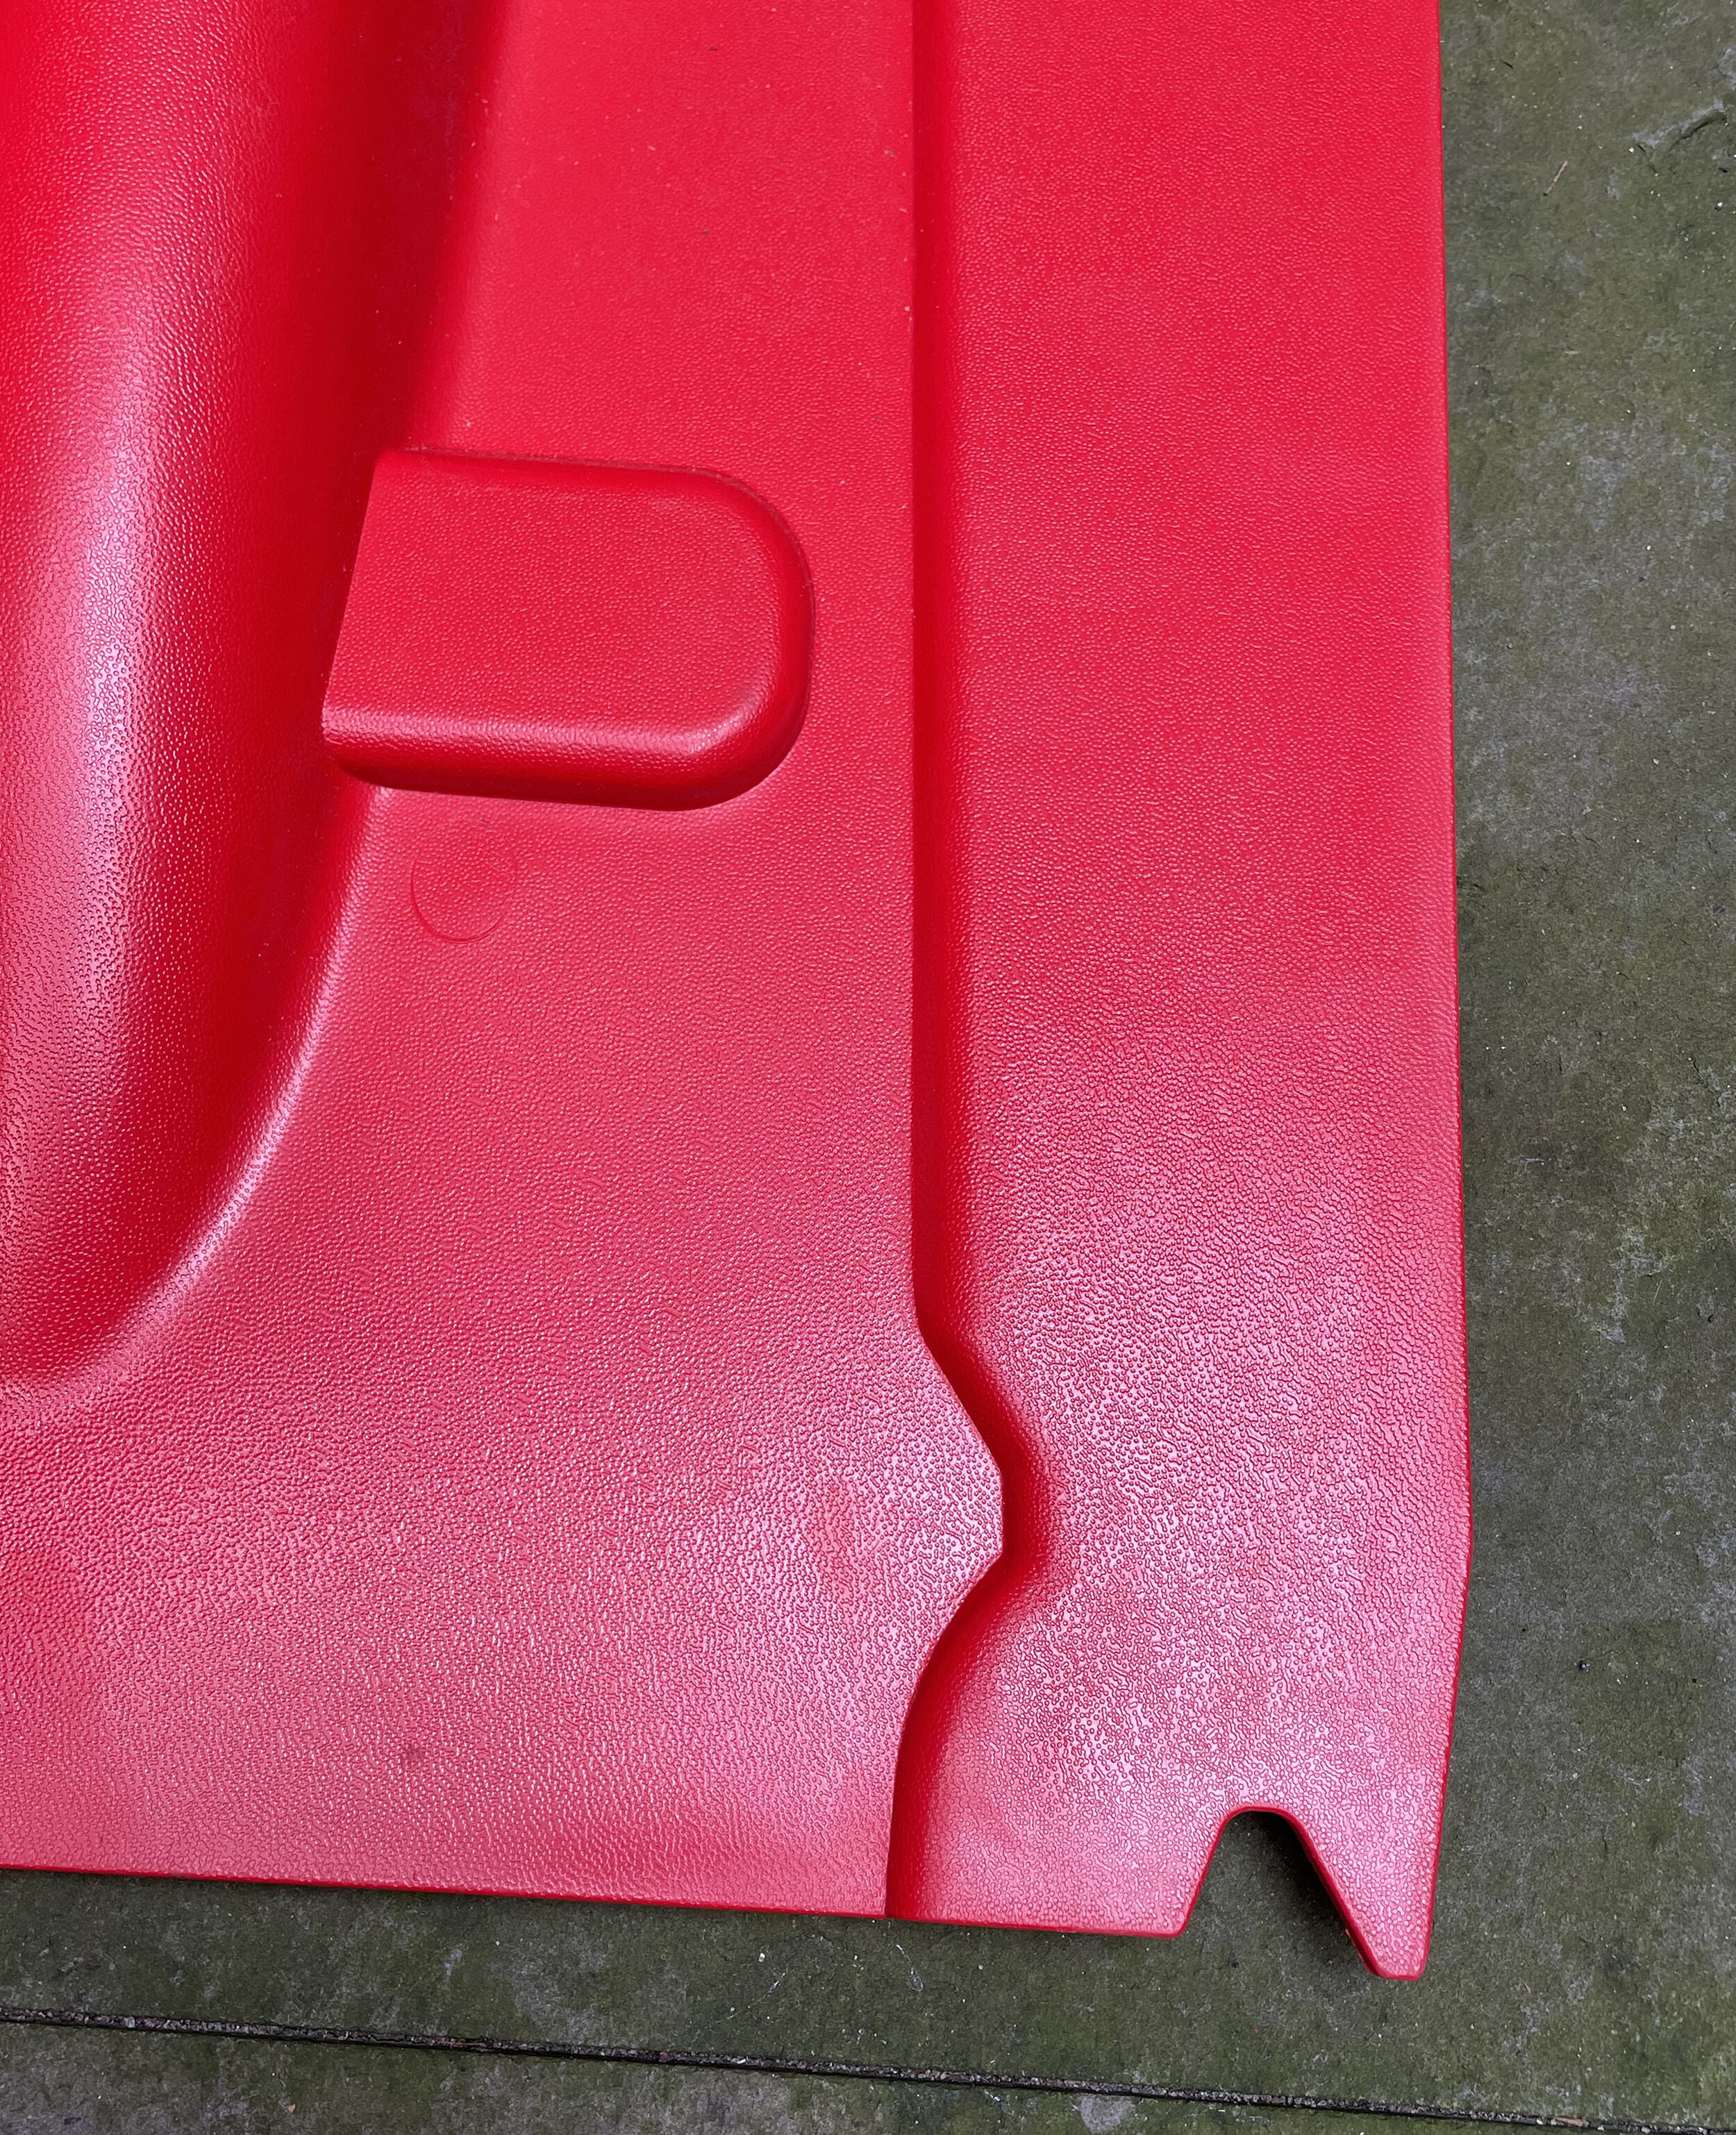
Bottom Male Connector Tab
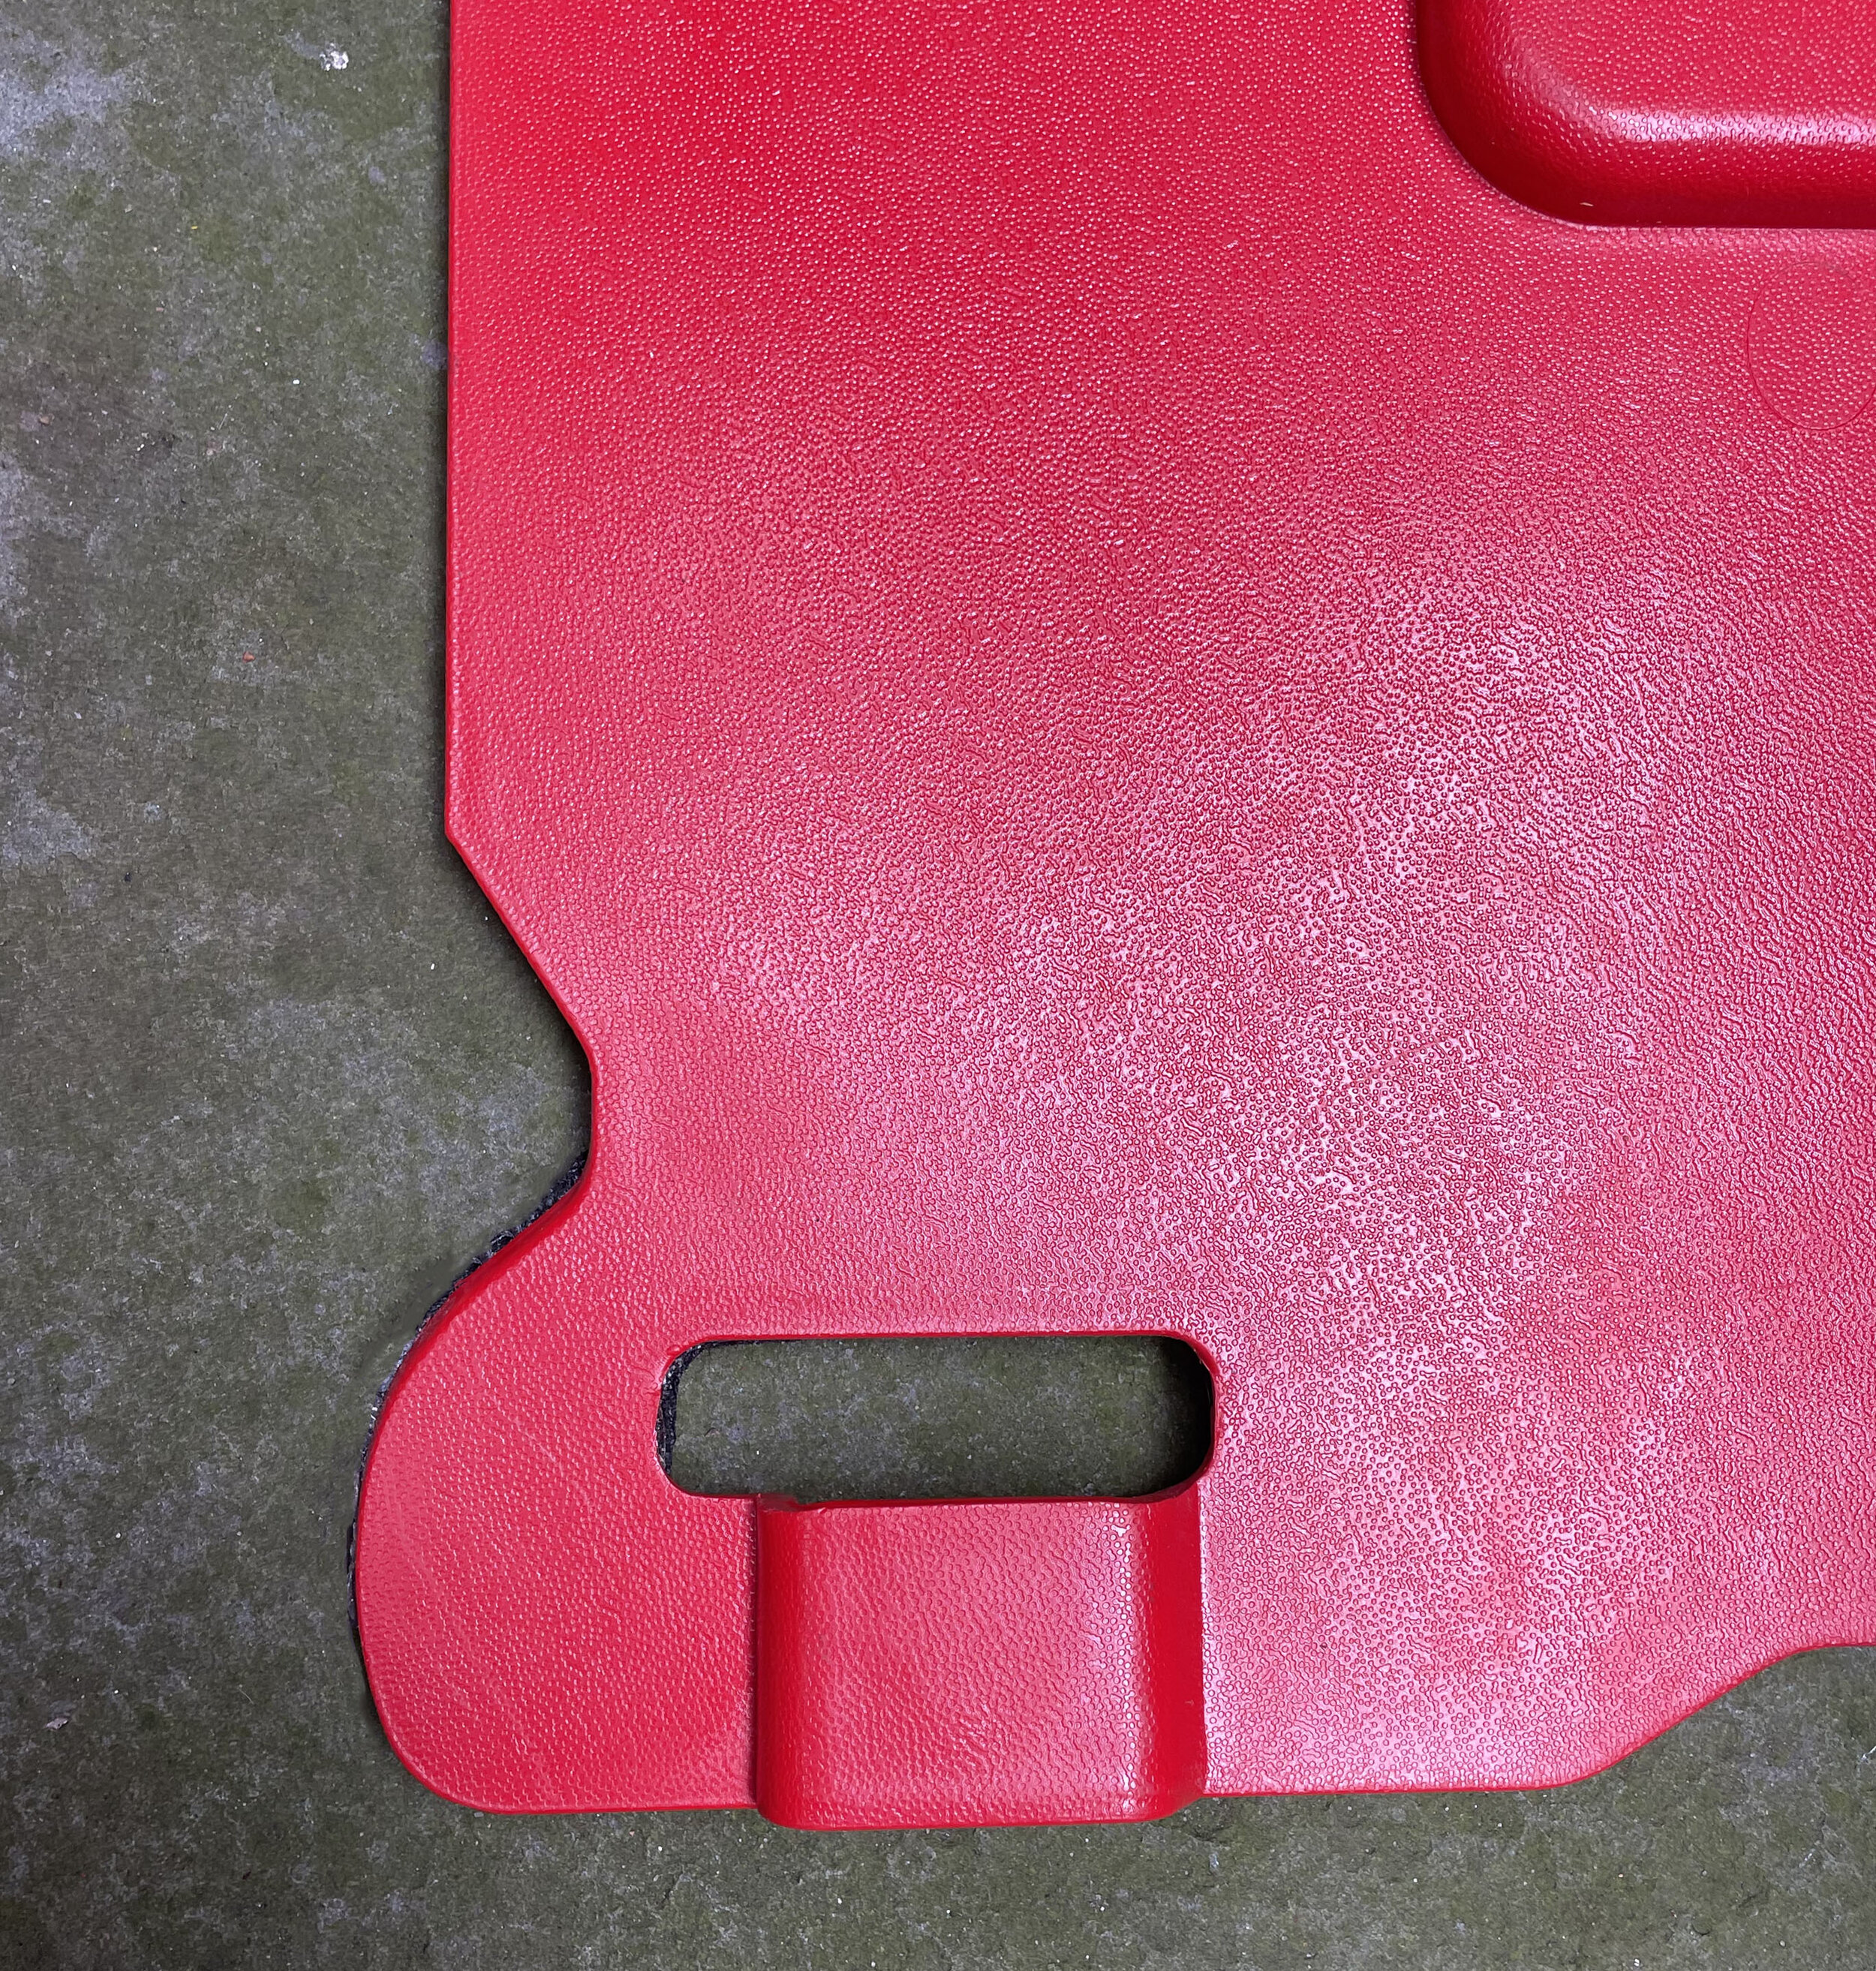
Bottom Female Receiver
Top Male Connection Tab
Top Female Receiver

Locking Sections.
Once you have inserted the bottom male connecting tab into the female receiver, position and set down the barrier being installed, such that the top male connecting tab is positioned just outside the widest portion of the top female receiver (this is located on one side of the receiver). Press down on the male connecting tab to insert it into the female receiver.

Adjusting Angles.
Angles can be adjusted 3 degrees in either direction, utilizing the “play” in the connection system. This allows for gradual adjustment in the direction of a run of barriers to follow gradual shifts in the layout of the flood barriers. For larger turns or to go around corners, utilize the Inward Curve (IC) and Outward Curve (OC) Mayim pieces.

Adding Turns.
While you can adust Straight Mayim™ section about 3 degrees in either direction, larger turns require use of our MB1/MB2-IC and OC sections. These are curved sections, each 33 degrees, that provide an outward or inward curve, depending on your needs. Connect 3 curves to create a 90 degree angle. Outward and Inward curved sections connect to each other and to straight panels the same way as standard Mayim panels. Use turns to curve around a building perimeter, to turn a straight run towards a fixed wall for seal off or to create a complete pool for containing water.

Adding Gable Ends.
Gable End Pieces (GEL/GER) are designed to abut against a fixed wall, to terminate a run of barriers. Gable Ends are connected to Mayim Barriers, using the same connection system. Once connected to the last barrier in a run, shift the barriers (using the Adjusting Angles feature) so that the Gable End Piece is pressed firmly against the fixed wall, creating a seal between the barrier and the wall. You may wish to add a weighted Sandbag to the end section for additional support and to prevent any leaking because of a loose seal with the fixed wall. You can add Gable End pieces to the end of an Outward Curve (OC) or Inward Curve (IC) section, should these sections be useful to help align a Mayim Barrier to the fixed wall.


Alternate Methods of Sealing Off To Walls

Adding Neoprene Strips For Seal Off.
Depending on the scenario, it is possible to add closed cell neoprene strips to the backside of Mayim barriers to enable a good seal against walls, including walls with variation, such as brick or cinder block walls.
We recommend 1.5” wide x 1” thick, peel and stick rolls, which can be purchased HERE.
Cut strips to size and adhere to the back of Mayim barriers. Trim as needed.
Align panels against the wall, frame or surface either directly or at an angle, as needed. Press against wall to ensure a good seal. You may want to place a sandbag or Minnow barrier against the panel to create additional pressure against the wall, until the water levels rise and create pressure.
Leave strips on sections for further use.


Sealing Off At Fixed Walls Using Poly Sheeting.
If you are limited on space or your budget doesn’t allow the purchase of Outward Curved sections and End Gables, you can use standard poly-sheeting and duct tape to create a seal between panels and and adjacent wall. Remember that rising water exerts tremendous weight against objects and as such, this method is only recommended for areas where Mayim straight barriers overlap side walls, such as bay doors.
Additional Tips

Adding Ballast
In situations where high winds are expected in advance of flooding, it is recommended to add some ballast to the barriers in the form of sandbags or our Minnow™ bags. Ballast may also be used to ensure a solid seal of panels or End Gables against a structure and to plug any gaps between barriers and a fixed wall. We recommend considering using strategically placed sandbags for slow rising water, until the water rises up onto the Mayim barriers and provides ballast.

Adding Polysheeting
If you are looking to create a hermetically sealed containment pool, it is possible to lay plastic poly sheeting over the panels to provide an additional layer of protection against liquids.

Adding Neoprene Wedges to Enhance Seal Against Fixed Wall
In some situations, the slope of the surface adjacent to a fixed wall is slightly sloped, potentially leaving a small gap at the top of an end gable or a Mayim barrier that is abutted to the wall. To seal this area more securely, you can use a sharp knife to cut a pieces of the Mayim neoprene roll into a wedged (triangular shape) to fit the opening more accurately. The neoprene section can then be stuck to existing flat neoprene on the back of the end gable or barrier and pressed against the fixed wall to create a more effective seal.

How Many Barriers Do I Need?
Mayim barriers come in 27.6” Wide (MB1) and 39.37” W (MB2) sections. When connected, each panel overlaps roughly 2-4”, depending on the specific angle utilized. This means that you get about 24” of running length on an MB1 barrier and 36” of running length on an MB2 barrier. Angled pieces add some length but are typically used to round an obstacle or make a turn, and as such shouldn’t really be considered in the length of your barrier. In other words, we recommend purchasing enough Straight barriers for the length required and Curved pieces to allow turns.
100Ft Long Barrier —> 50 Pieces MB1 or 34 Pieces MB2
250ft Long Barrier —> 125 Pieces MB1 or 84 Pieces MB2
1000ft Long Barrier —> 500 Pieces MB1 or 334 Pieces MB2