
Installation Instructions
HOW TO MEASURE FOR YOUR MAKO™ FLOOD BARRIER
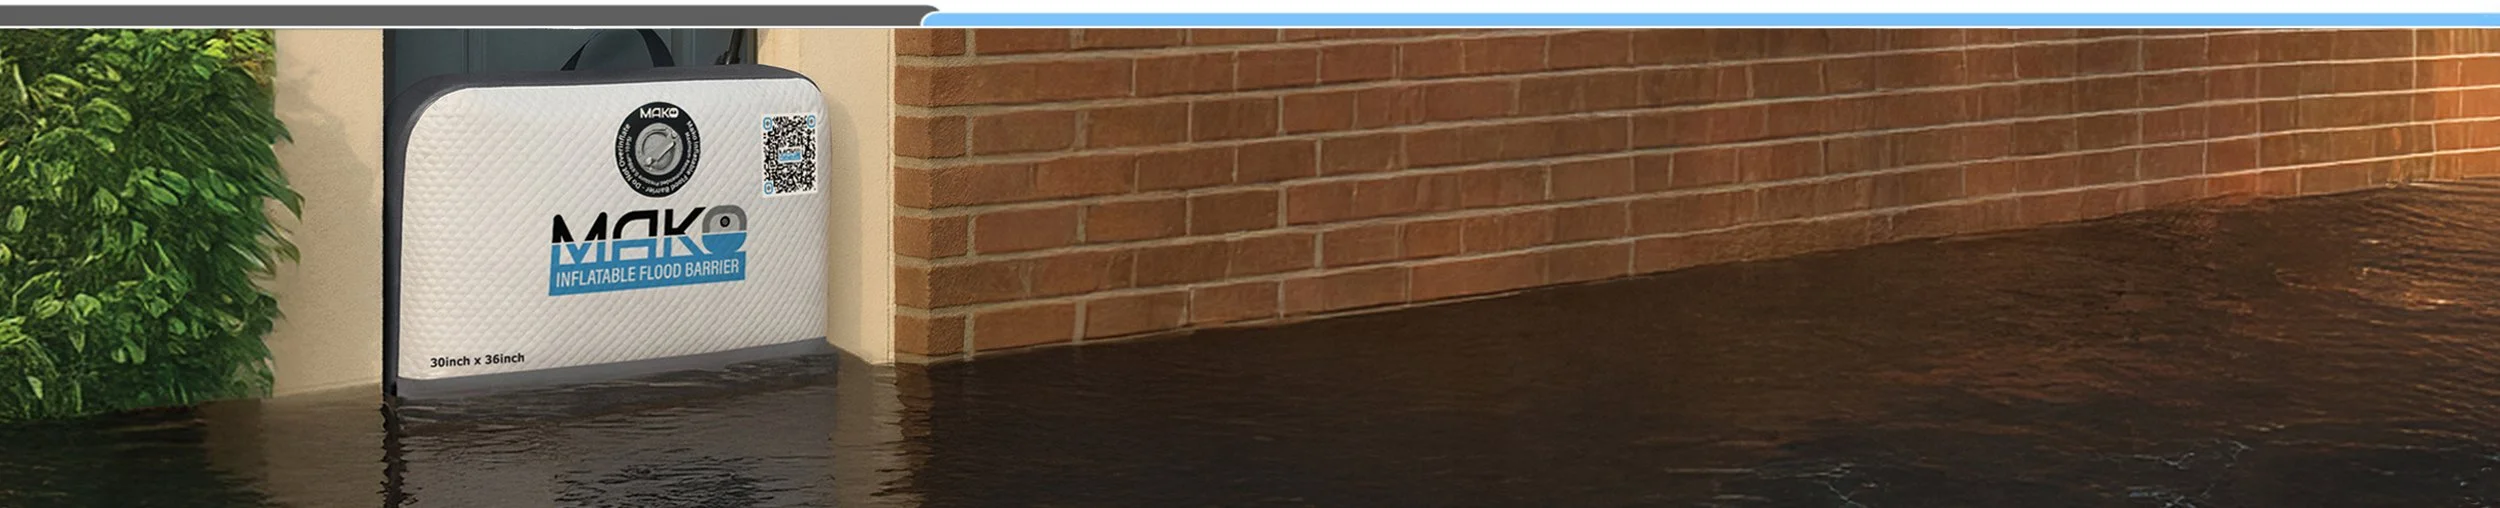
MAKO™ Pressure-Fit Inflatable Flood Barriers are designed to seal against the walls and floor of an opening. This could be a garage opening, a doorway, a window sill, a hallway or passageway, or anywhere you have a flat opening into which a flood barrier can be fit.
These versatile barriers can be used on wood, stone, brick, metal, concrete or other solid surfaces.
Note: DO NOT install MAKO™ flood panels between sheetrock wall surfaces as the pressurization of the panel within the opening could damage your walls.
MEASURING STEP 1
Measure Your Opening, Threshold to Threshold:
Remember, the MAKO flood barrier will fit between the threshold of your opening, so the relevant measurement is the threshold width, not the actual width of your opening.
If a door is 36" wide, but the frame around the door, into which the MAKO will fit is 40", then you would order a 40" MAKO flood barrier.
Try to get within 1/2" of the opening size, erring on the side of being slightly larger in situations when your wall is not exactly plum or straight.

MEASURING STEP 2
Measure the Depth of Your Opening or Threshold:
The MAKO flood barrier uses friction and pressure to lock into your opening. As such, it requires sufficient depth to ensure a good seal and grip.
Depending on the size and height of your opening, the depth of the MAKO varies. A typical opening that is less than 36" wide is 4" thick, meaning you need around 2.75 inches of depth to properly seal your flood panel.
For openings wider than 36", we typically recommend 6" thick flood panels and these require about 4" of threshold depth to get a good water seal
As we get to very large openings, such as double wide garages, the panels come in 8" thick flood barrier sections, providing additional stability, holding power, and rigidity. This requires about 6" of side wall/frame surface area to be installed properly.


PREPARING YOUR DOORWAY
Confirm Your Flood or Doorway Sill Surface
For the best flood protection, a level and smooth ground surface is important, enabling the bottom seal to get good engagement and seal against leakage.
Check for bowing, major cracks or gaps in your floor. Should major imperfections exist, you will want to repair those and make sure that the surface is level, before installing MAKO flood panels. We don't recommend sealing against pavers, gravel, or other porous surfaces, as water will migrate through and under pavers and gravel.
PREPARING YOUR MAKO FOR THE FIRST INSTALLATION
When you receive your new Mako® products, remove each barrier from the shipping box and unfold. Inflate each Mako flood barrier with a minimal around 2psi and leave inflated for 24 hours. This allows the seals to straighten from their folded position and helps to smooth any bend, kinks or curves that may have formed during shipping etc.
Before installing, clear any debris or dirt from the opening threshold so that the best seal can be obtained. Check that all surfaces are smooth as better seals are achieved with smoother surfaces. Seal or patch any damaged areas within the threhold.
INSTALLING YOUR MAKO INFLATABLE FLOOD BARRIER
Installation Step 1:
Positioning MAKO Pressure-Fit Inflatable Flood Barrier
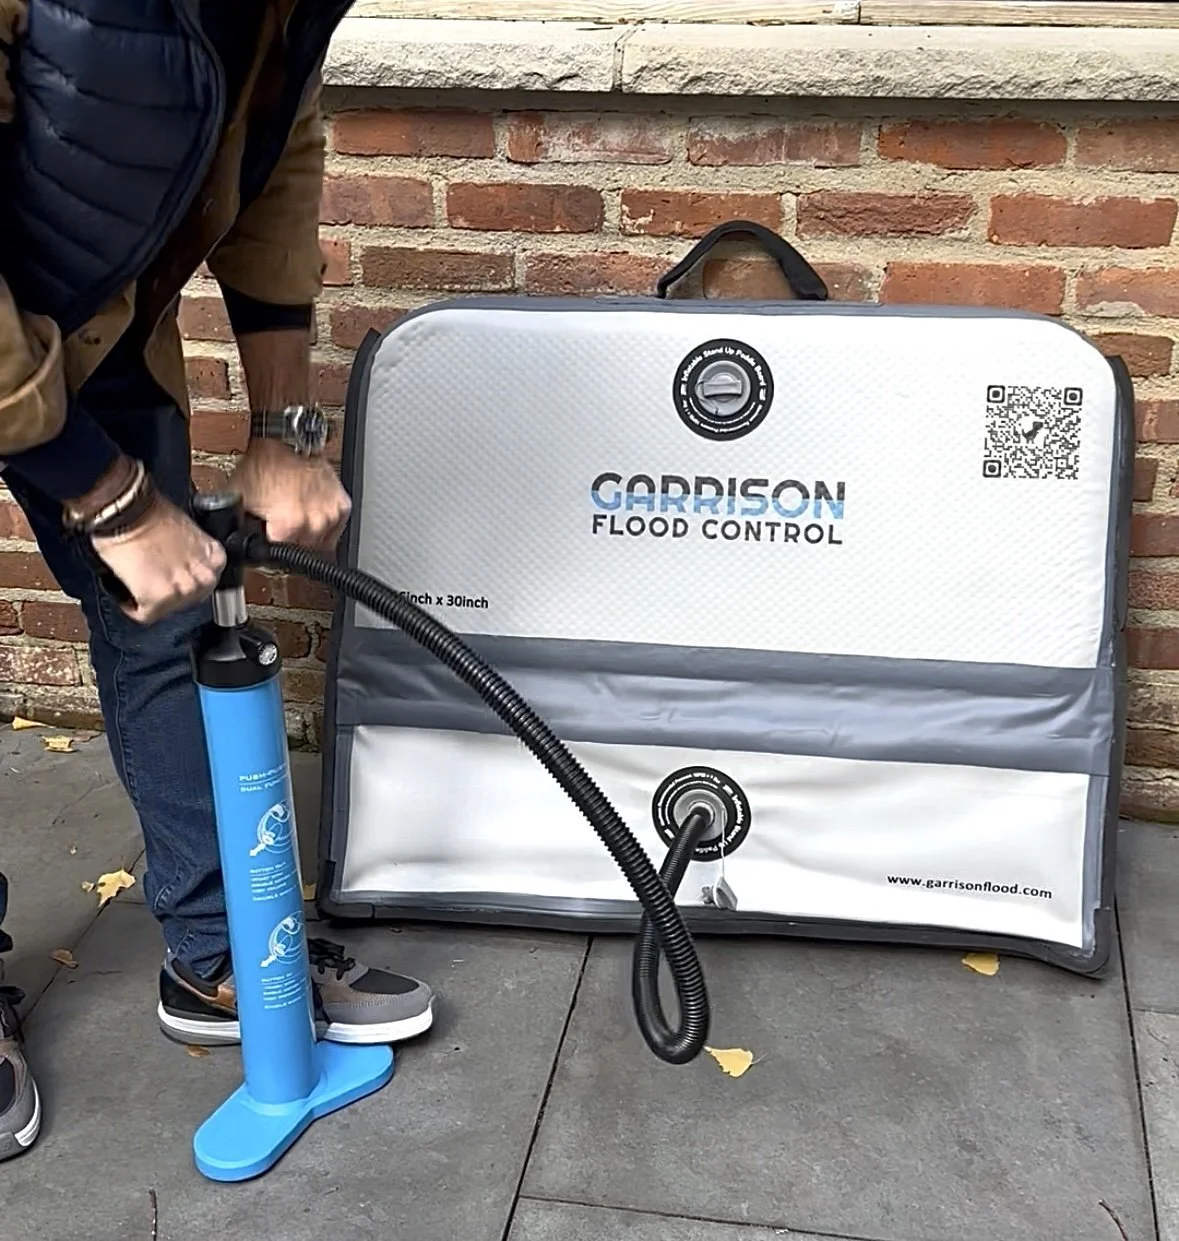
Remove the MAKO barrier from its storage bag and unfurl it near the opening to be protected. Use the included pump to slightly fill the top and bottom chamber, giving the flood barrier some structure to place and position it into your opening.
Tip: Don't fill your barrier too much at first, so that you can fit it into your opening and position it before full inflation.
Position the barrier in your threshold or opening, making sure that it is aligned equally, side-to-side and positioned with the rubber seal touching the threshold surface that it will be pressured up against.
Press down on your barrier to ensure that the bottom chamber is pressed against the lower sill or ground below and that any slack in the barrier is eliminated.
Installation Step 2:
Inflate The Upper Inflation Chamber
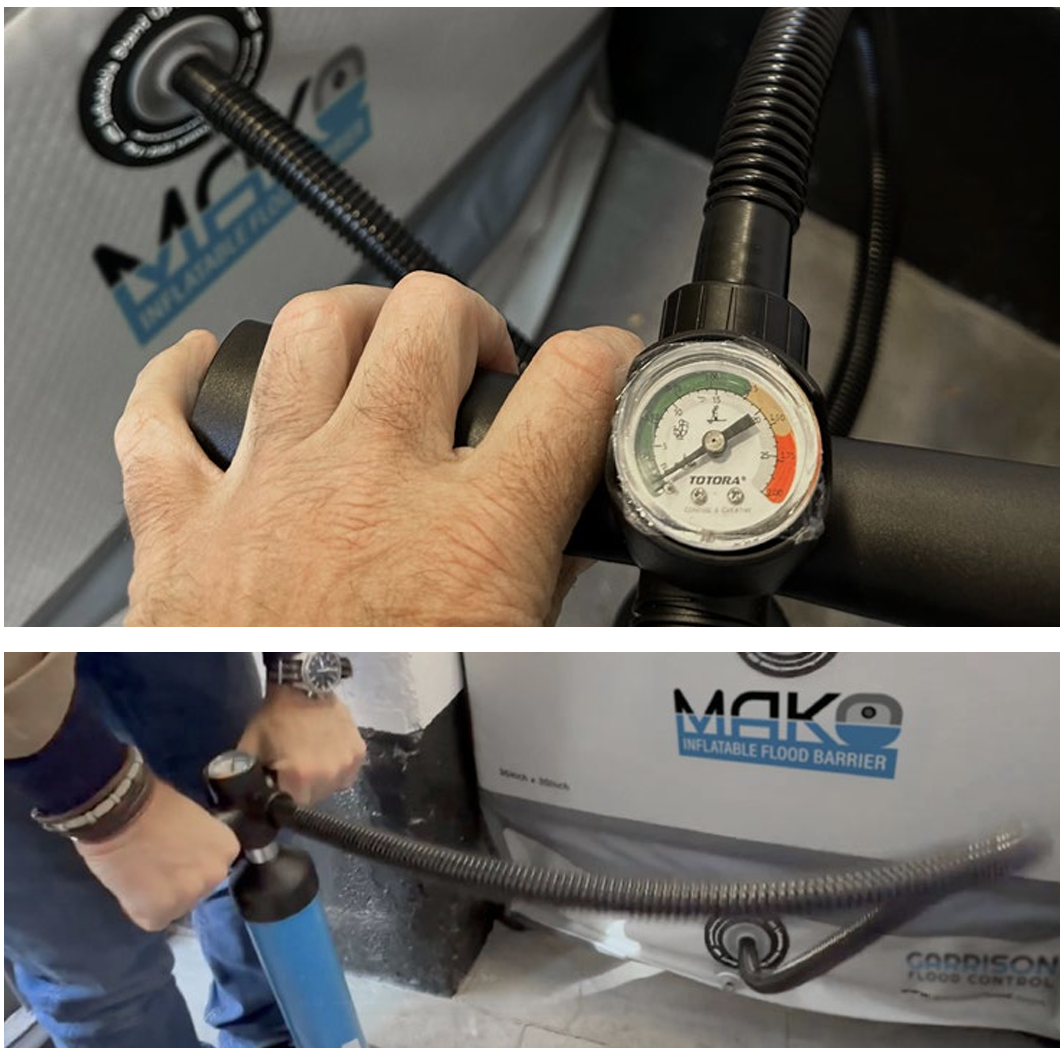
Remove the cap covering the inflator valve and attach a standard air pump to the valve. This can be the included inflator pump or an electric pump.
When using an electric pump, we recommend setting the inflation PSI to 12psi-15psi.
Inflate the chamber to the desired pressure, remove the pump from the valve and replace the safety cap.
Note: Do not exceed 15psi as that could damage your threshold or the panel's drop stitch fabric material.
Installation Step 3:
Inflate The Lower Inflation Chamber
Remove the cap covering the lower chamber’s inflator valve and inflate the chamber between 12 and 15psi. Remove the pump and reconnect the safety cap.
UTILIZING TENSIONING STRAPS FOR LONGER BARRIERS
For longer MAKO™ flood barriers, we recommend utilizing tensioning straps to provide additional stability at the center of the panel, preventing the panel from bending inwards under heavier hydrostatic or hydrodynamic pressures.
Panels 72” and higher come with included tensioning straps and D-ring connectors to place into the sill or threshold below. Straps are run over the flood panels and are attached to the D-rings on either side of the panel. This secures the panels into place and provides additional downforce for better sealing.
Tension Strap Installation Step 1:
Measure Pre-Installation D-Rings to Receive Straps
When installing a single tensioning strap, measure the distance to the center-point from threshold to threshold and mark that location on the ground below.
When installing several tensioning straps, measure the distance and divide by the number of straps plus one to determine the position of the D-rings. For example, for a 108” opening, you would utilize 2 straps:


This means that the first strap will be placed at 36”, and the 2nd strap would be placed at 72”.

Tension Strap Installation Step 2:
Drilling & Attaching D-Rings to Threshold or Ground
Use a drill to drill pilot holes to receive the screws used to attach the D-rings to the ground. For garages or loading bays, the surface is typically concrete and for sliders the surface may be concrete, metal or wood.
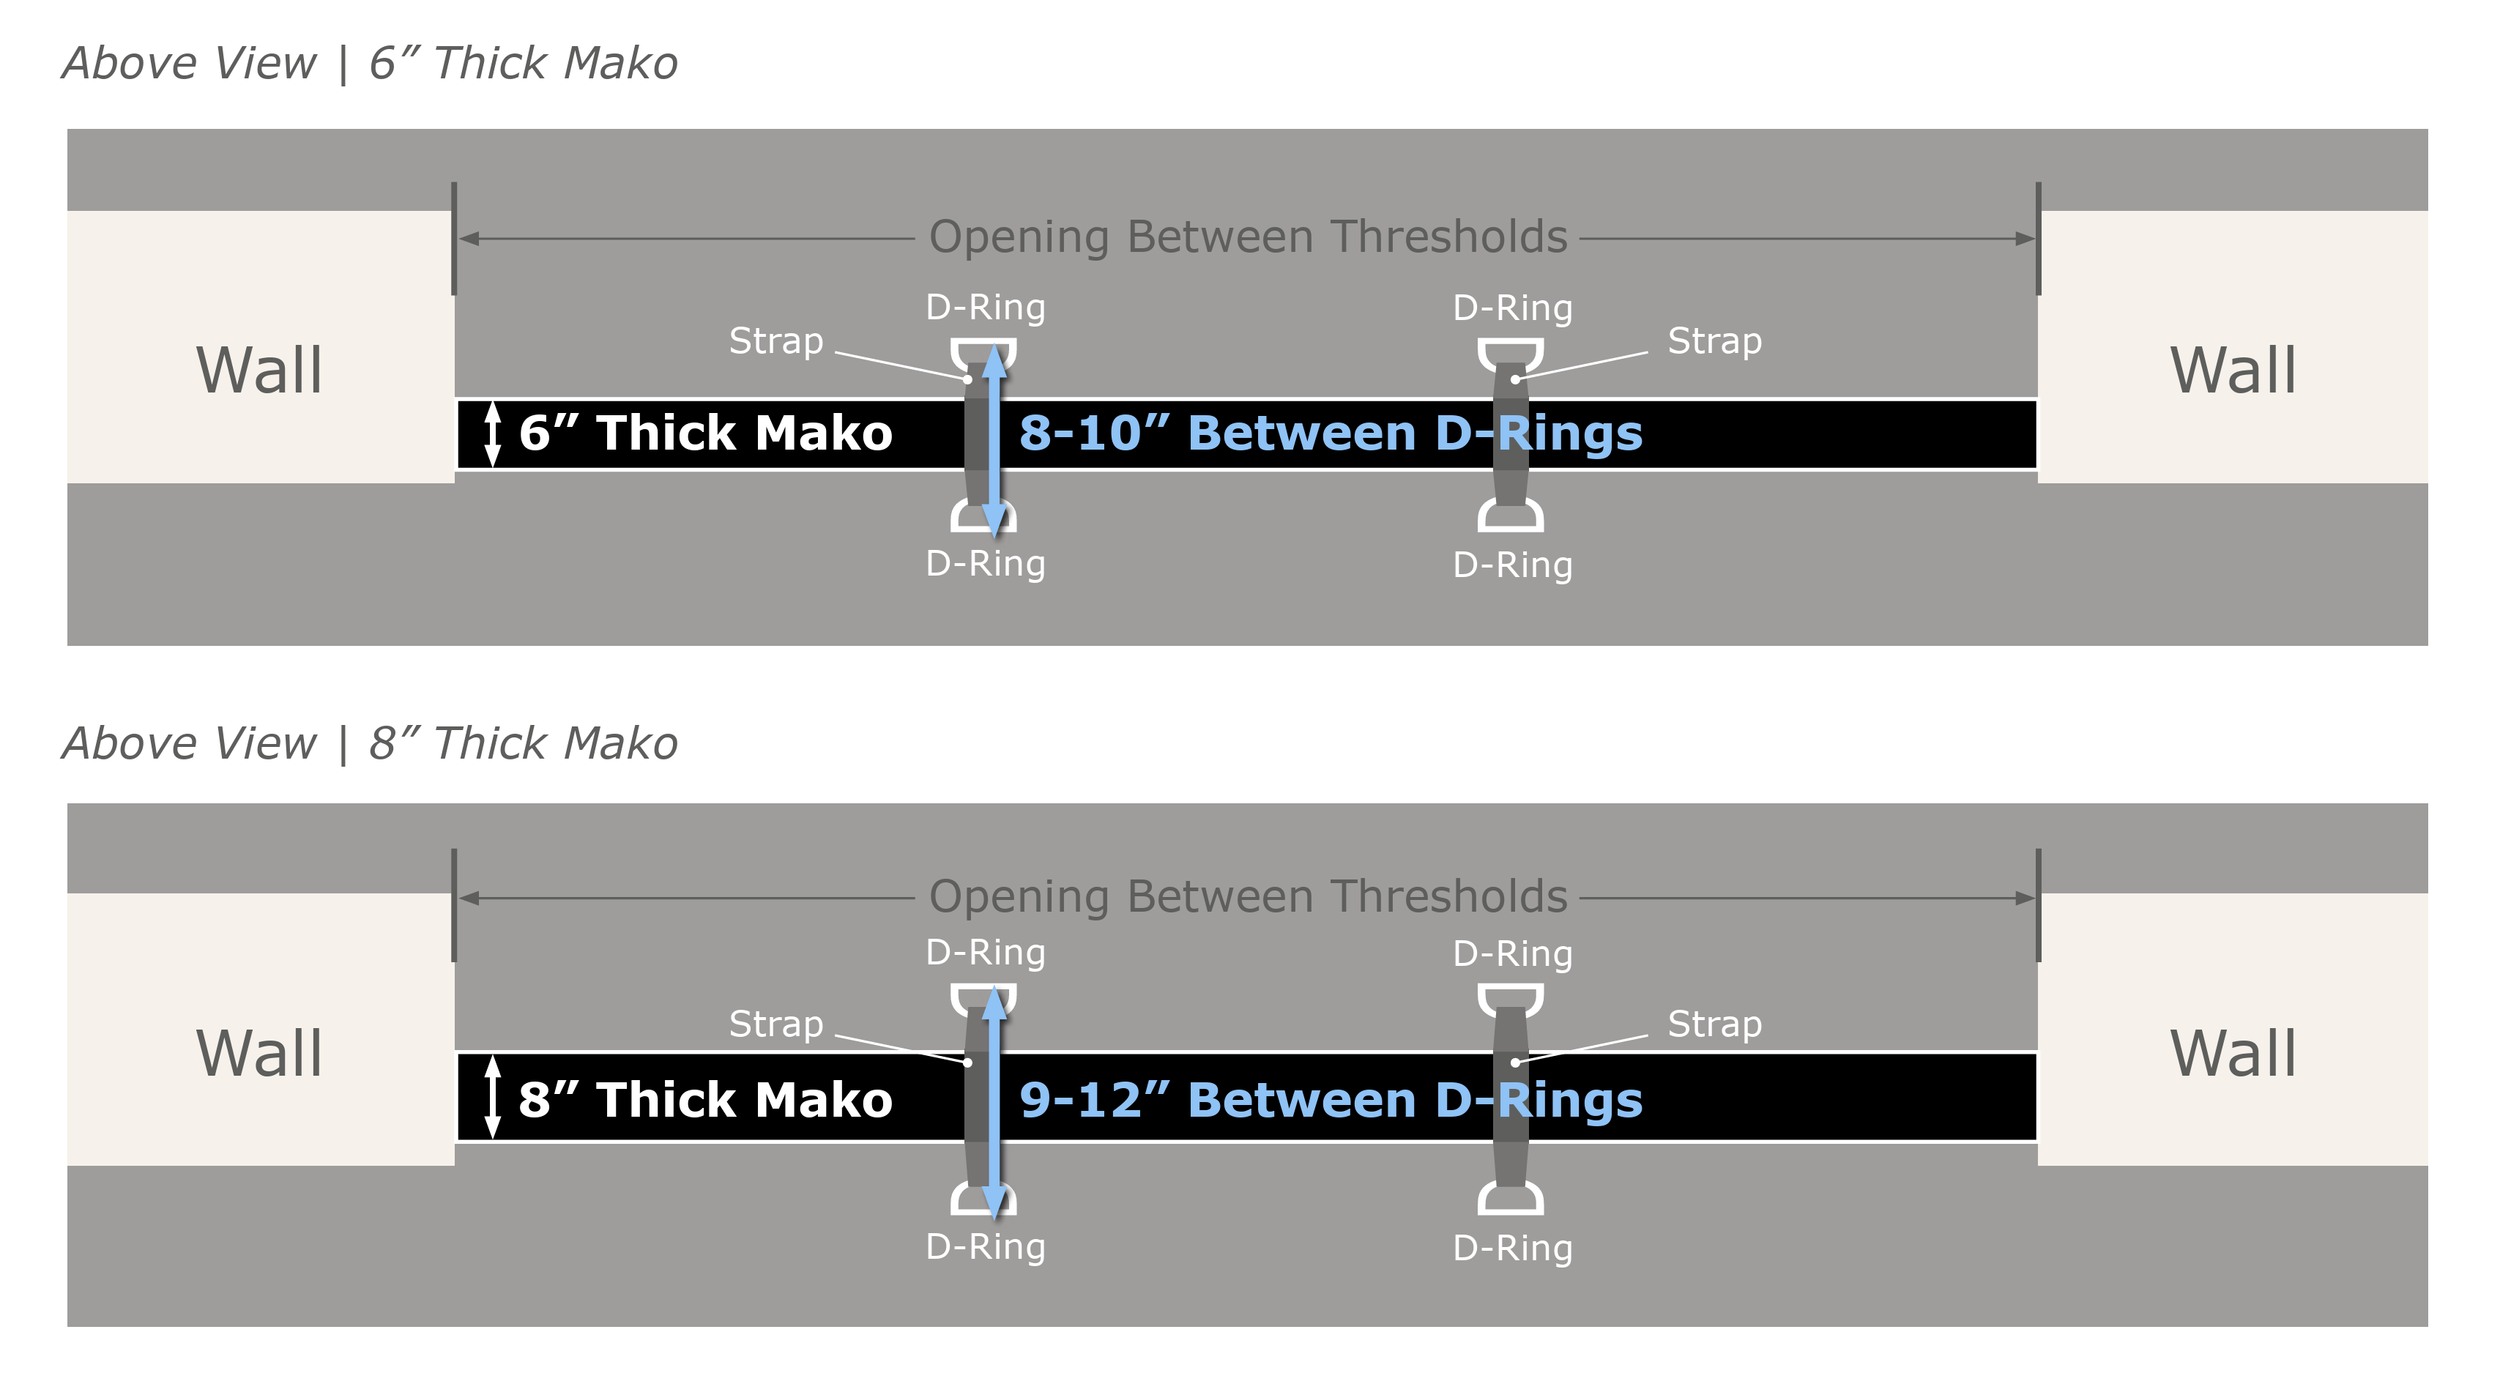
The strap will be placed up and over the panels and attached to the D-rings, so it is important to leave enough space between the D-rings to accommodate the panel itself.
For 6” thick flood panels, we recommend placing the D-rings 8-10” apart and for 8” thick flood panels, we recommend placing the D-rings 9-12” apart.
Tension Strap Installation Step 3:
Installing the Tensioning Straps
Once the D-rings have been preinstalled, you can install your flood barrier using the standard installation instructions. Do not inflate to the maximum at first as you will return to do final inflation after placing the tensioning straps.
Once the MAKO™ is tensioned in place, span a tensioning strap up and over the inflated flood barrier, hooking the hooks to the D-rings. Then tension the straps, as needed, to tighten the flood panel down against the ground and to prevent front to back movement of the panel.
Once the straps are in place, return to inflate the MAKO™ flood barrier a bit more to increase the seal against the side walls. Tensioning the panel with the straps creates an opportunity to inflate the barrier some more, holding the panels in a rigid and straight position.